Super Improver Door

door

A couple years ago I read up on whole brain teaching and using a super improvers wall display in the classroom. I attempted to do it in the general education classroom that I co-taught in but it didn’t go as well as planned. So instead of starting this whole group I chose to start it in with my small group of IEP students in my resource office that I use to teach small groups.

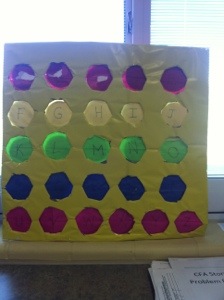
This year I went for a chalkboard type theme for the wall. I bought some scrapbook paper from Hobby Lobby and lined the back of my door before I put the Super Improvers’ Wall up.  I put each kids’ name up in the same color as the content area.  Underneath their names I write I can…. and leave enough space so that after they are laminated we can write and change out goals as needed. Next to each child’s name I put a circle that represents the color they are on on the Super Improver’s Wall. On that circle I write what that child can do at this time.

Let me just say this has been the ONE thing that my kids look at after each time we progress monitor (every 2 weeks). Their goal is to reach pink (Master). At the beginning of the year we set mostly year-long goals. For most of my kids learning the letters in the alphabet is a huge struggle. We are in April and I have kids that still don’t know all the letters.

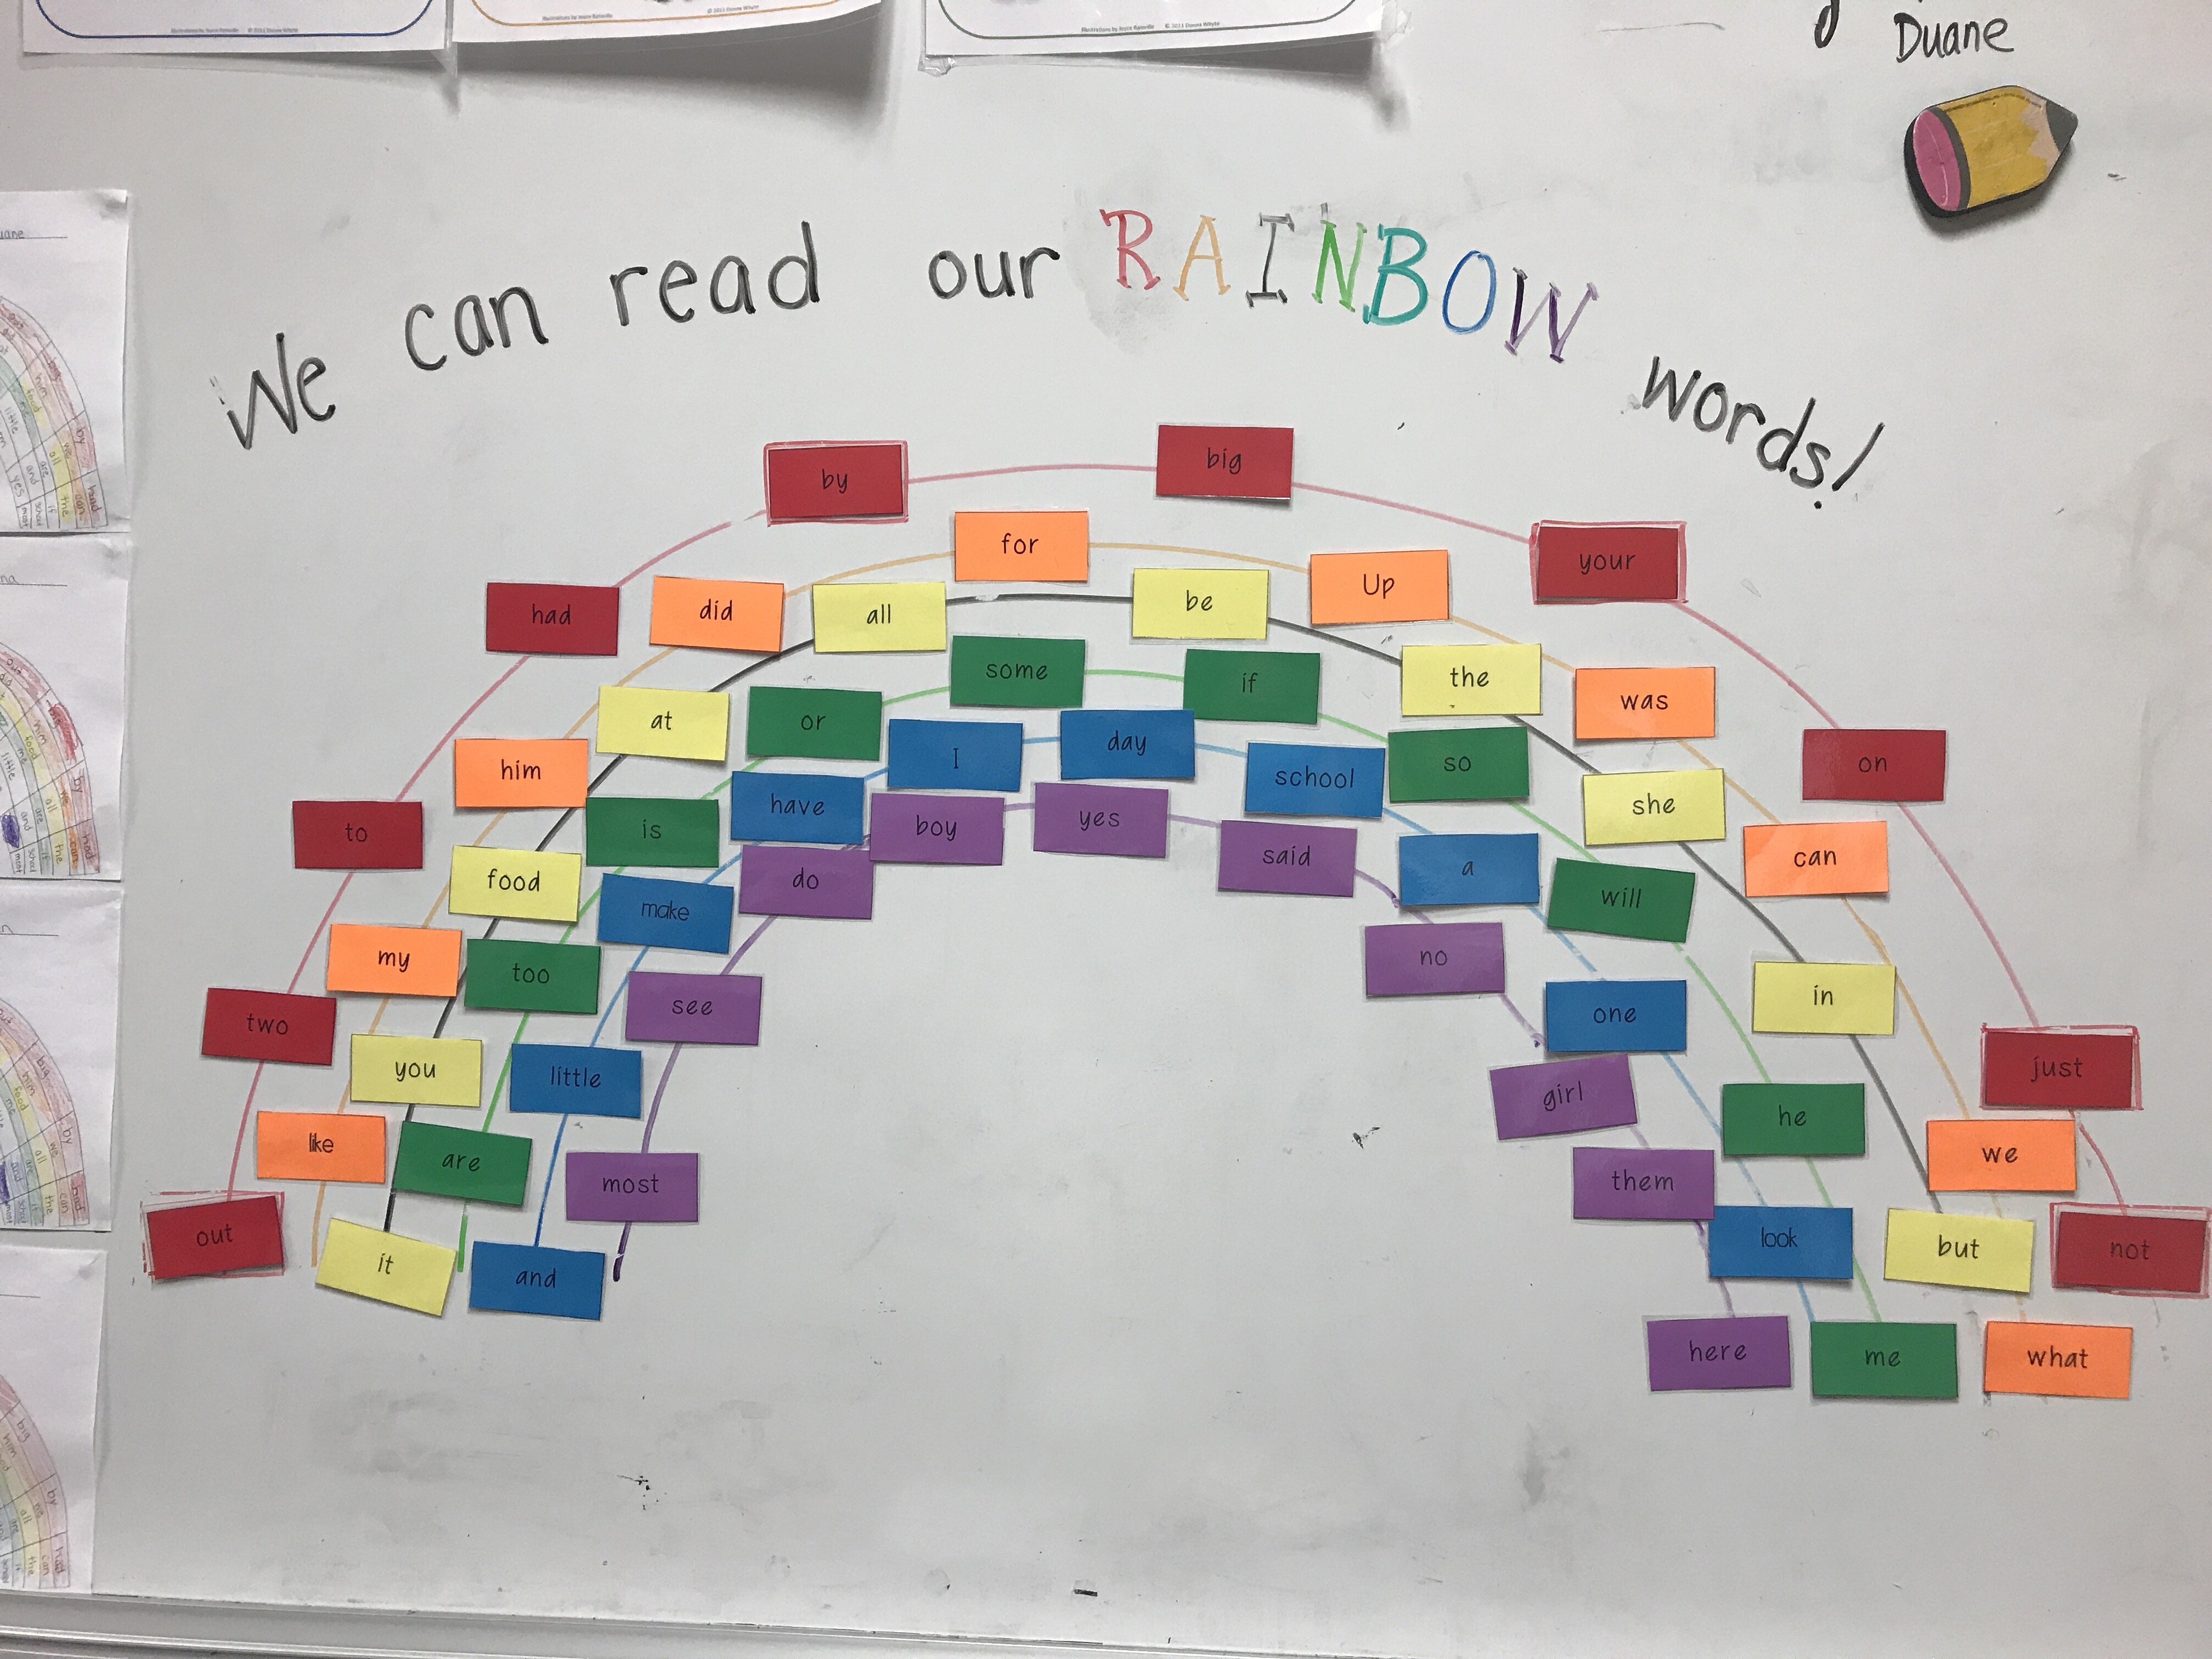
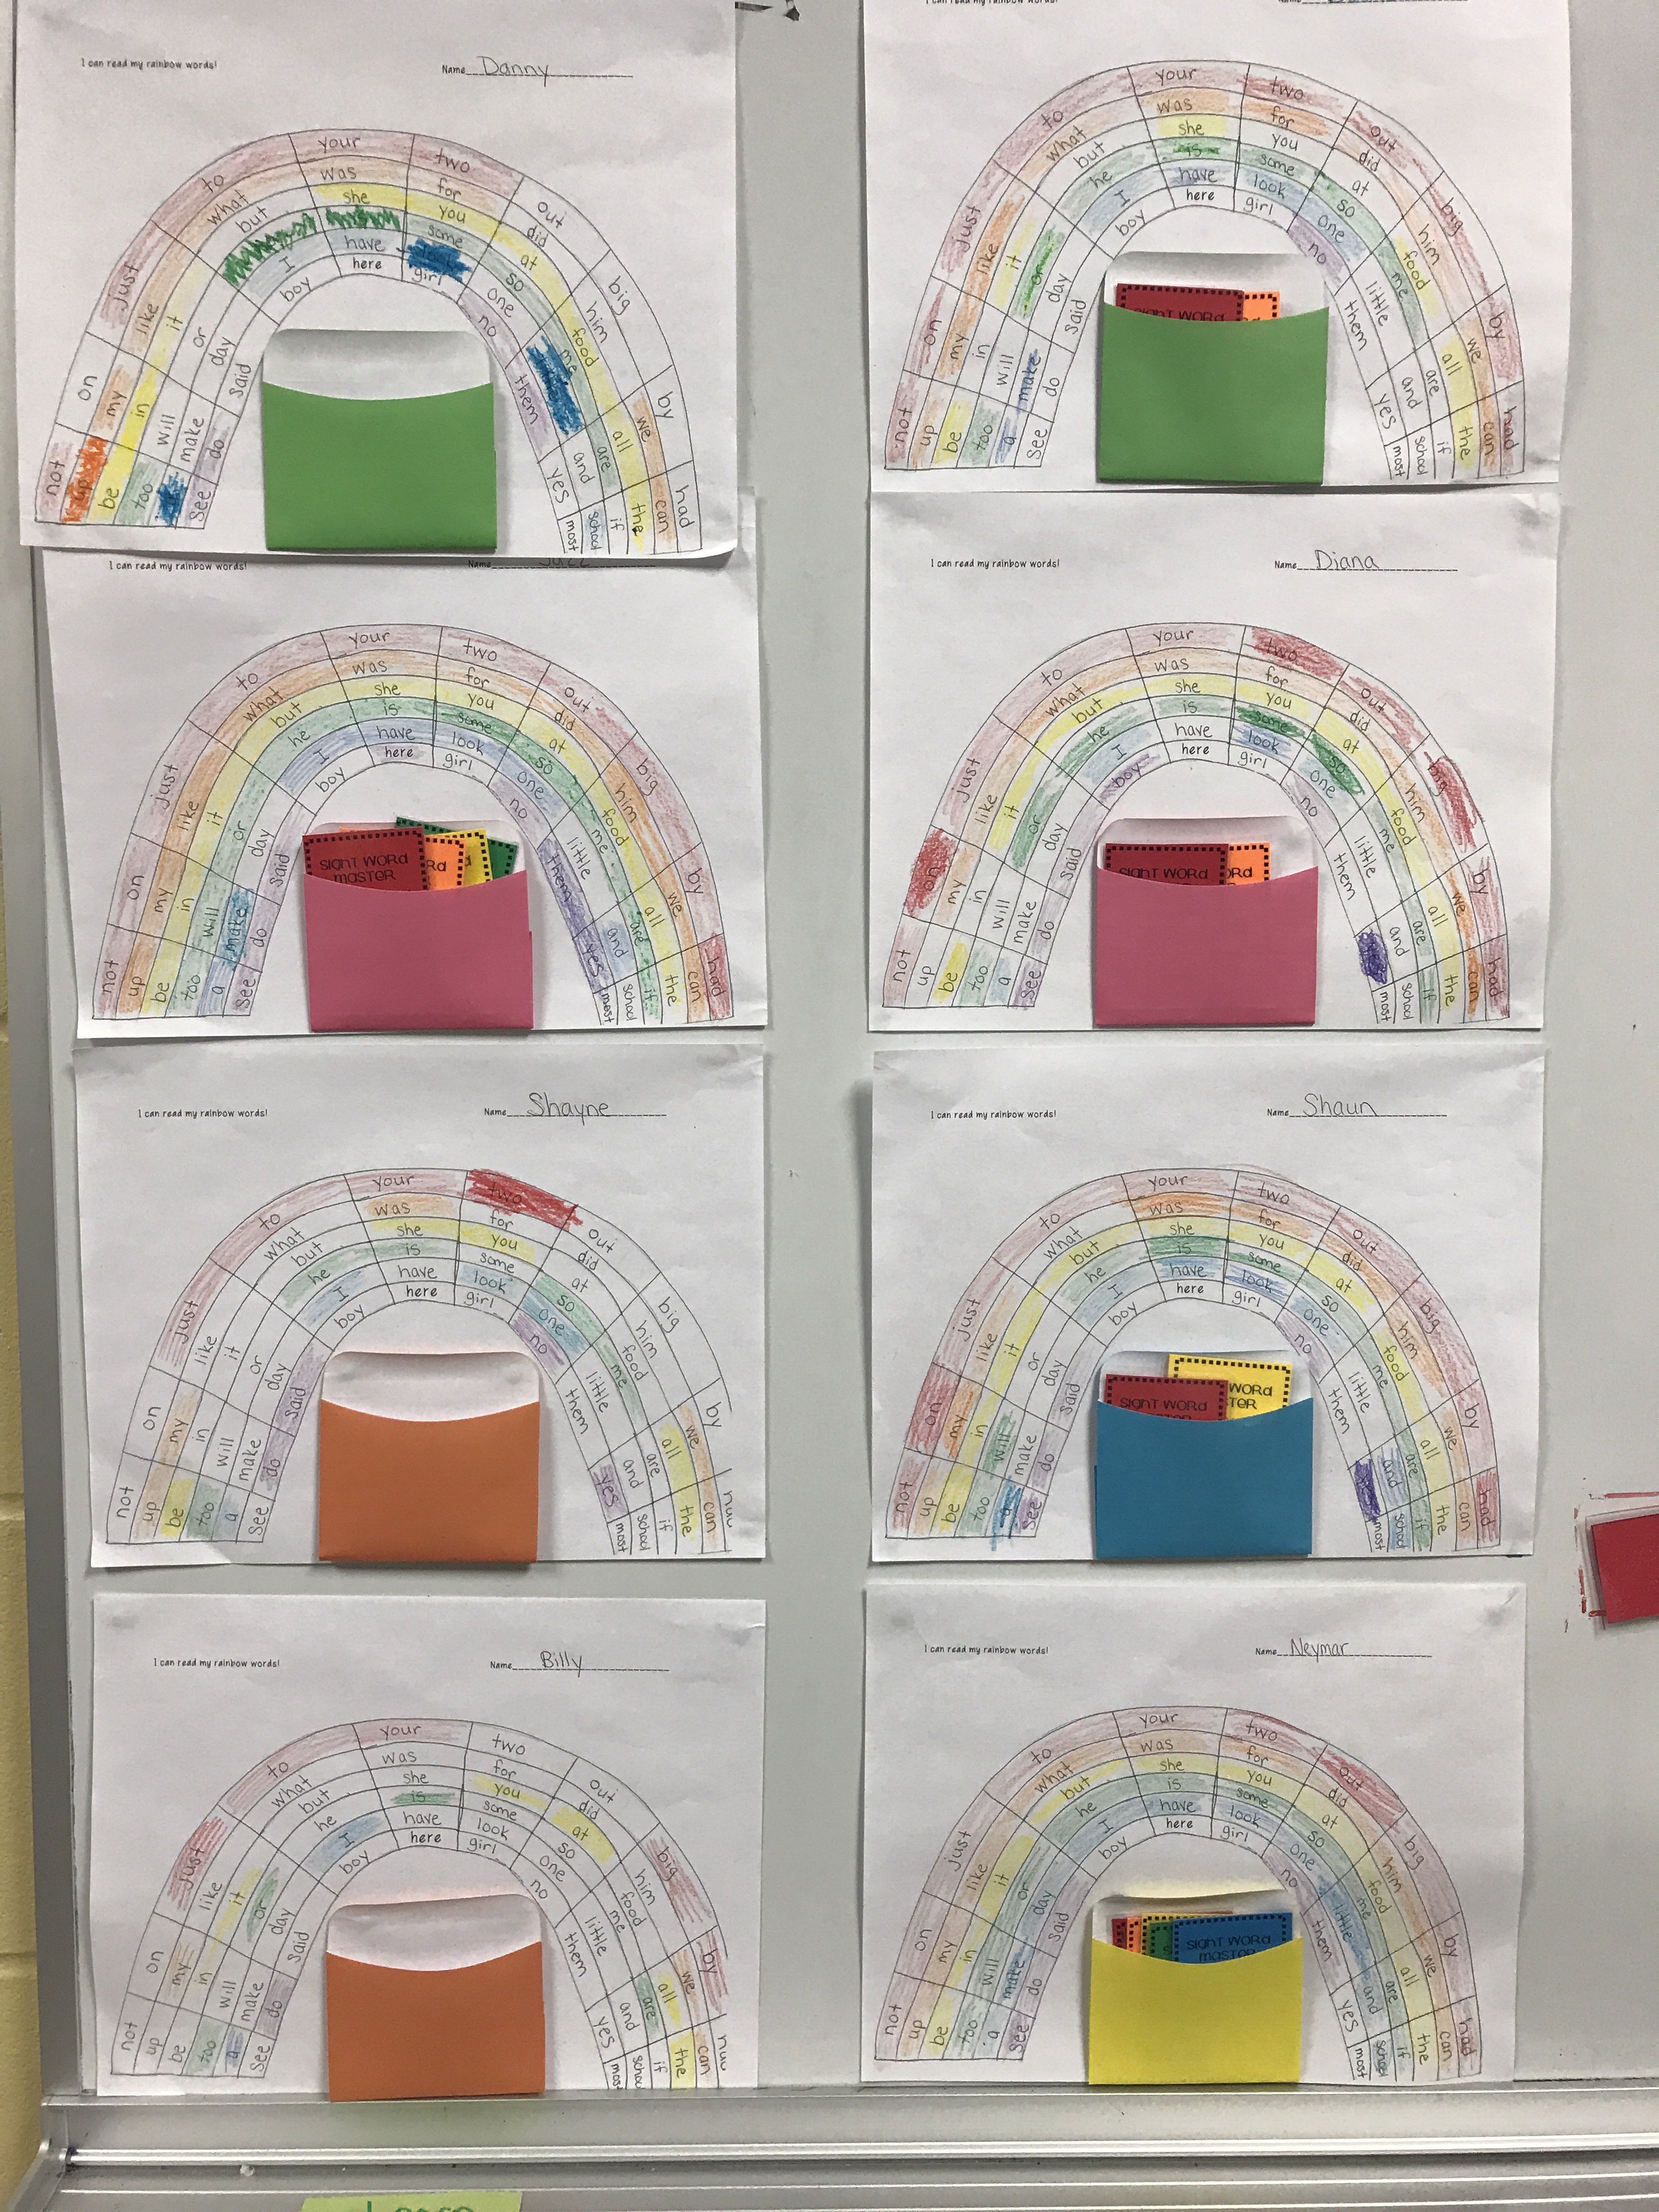
I have a Literacy side and a Math side to my wall. As a team the student and myself choose one goal from each area. I have some students who are on writing IEPs and not Reading IEPs (that’s why I put Literacy, it covers it all!). To the left of my door I have student graphs that they color in to correspond to the color they are on the wall. This provides a visual for them to see where they are at and how far they have come!

When they reach pink I told them they can have whatever kind of treat they wanted since they worked so hard. I don’t let them choose goals that will be easily met within a month or two. I try to aim for long-term goals.  So far McDonald’s has been a favorite choice. (Come spring time and it seems I am venturing out more often because kids are meeting their goals, I love it!).

Rainbow Words- Learning our Sight Words


It is the time of the year where we really start to learn our sight words. For my students, this is a very hard thing to do. Most of my IEP students have not mastered letter identification and letter sounds yet. Even though they do not know all the letters and sounds that does not mean that I am not going to teach sight words. For instance, all my students know the word the but they may not know that the letters are t-h-e.

I base my sight words off of a few things. One place we get our sight words is through FAST. On top of FAST we also have a list of 50 Kindergarten sight words and when they are in first grade they work on Bedrock Sightwords. So, I took from all of them and came up with our 60 sightwords that I want them to know/be exposed to by the end of the year. We call these our Rainbow Words. You can choose any set of words to use and determine how many will be in each color depending on your group.

I post these on my whiteboard. I debated whether or not to show this two ways. The first way, which I decided on using, was to have all the words up on the whiteboard from the beginning. This way they can see them when they are reading and writing and use it as a resource. The second way I thought about using the rainbow words was to have the outline with dry erase marker on the board already and then put up the words that all the kids were proficient in to grow our rainbow and watch our learning progress. Since I have a small number of students the second way would work for me. I ultimately decided on using them the first way I described because I teach 5 different small groups a day and each group is at their own place with learning sight words. I would have to constantly change the board between groups and that is just not possible some days (ok most days).

I introduce 5 new words a week and test sight words every other school week (according to IEPs). I found something online years ago that I try to follow when teaching sight words. It was called sight word soup. First, introduce the word in isolation and then by the end of the week they are reading and writing the words in context. This is how my overall week looks like with sight words. I aim to make these activities take about 5 minutes.

Monday- Introduce 5 new words (try not to make them to similar so they are not confused). First we look at each word individually and look for any known parts/sounds. We spell the word and use some sort of manipulative to create each word (play dough, salt, rainbow writing, wikki stix, etc…). I then write them in a little book (mini composition books) for my students to practice throughout the week.

Tuesday- We play a sight word game like Go Fish, Memory, Guess the Word (like hangman). I use all of the weekly words and then some past words that students may not be solid in yet.

Wednesday- I use sentence strips to write a sentence using each of our weekly words. I try to incorporate words that they have already learned so they are not spending the entire time trying to decode other words.

Thursday- As a group we create our own sentences using each word. We then use interactive writing to write our sentences together, highlighting our weekly words.

Friday- I have the kids write their own sentences using the weekly words.


In addition to this we practice reading all the rainbow words that we have learned at the beginning of group.

Below is how I keep track of student data. Each student has a rainbow that they get to color when they know the sight word. I put a library pocket in the center and created a little brag tag for each group of colored rainbow words that they receive when they know all the sight words in that color block. This helps me see which word they are still struggling with and which ines they know. 

ABC End of the Year countdown- take 2


So, last year the idea of a countdown to the end of the school year was a spur of the moment decision without much thought and planning put forth. This year I contemplated doing a countdown or not (I’m teaching with a new co-teacher so I wanted to make sure I wouldn’t be stepping on toes if she already had something planned). In the end I decided to do the countdown in the ABC format, they’re kindergarten so it makes sense.

I made the punch out board a little different this year and I LOVE how it turned out so much more than the one I created last year. This year I went to Dollar Tree and purchased a tri-fold board, snack cups, and tissue paper in rainbow colors.

Next, I laid out the 26 snack cups on the tri-fold board to see how it would all go together. I traced around the inside lip of the snack cups so this way I could just slide the containers in and not have to worry about students punching the cup out of the board. Also, this allows me to reuse everything (except the tissue paper) each year. I used a box cutter to cut the circles out and then placed a slip of paper that read the daily letter and what it stands for. For example one paper says B is for Balloons and another would read G is for Games and Gum.

It is not the cutest board but it gets the job done. For next year I will probably decorate the board before we start the countdown to make it more visually appealing.

Here is the letter that I send home with families before we begin to let them know what we will be doing each day. Some days require bringing something from home. Click for end of year countdown 1. I will let you know it is not the prettiest of things but it gives you an idea of what we are doing in my classroom.

Mini Farm Animal Unit


A few years ago we as a kindergarten team we completed a whole non-fiction unit on farm animals. Fast forward a 2 years and we are using Lucy, so our writing looks quite a bit different than it used to. We did still talk about farm animals but it was mostly about teaching schema and adding to the file folders in our brain.

For my small groups I decided to keep going with the farm animals. We started it off with a little poem called Old McDonald. I know, it’s not a nonfiction text, but the kids love it and it got them thinking about different farm animals. Next, I had each group (except one of the groups due to time constraints) choose a different farm animal to learn about.

I then created little non-fiction all about books in a way that the students’ would be able to fill out our can/have/are chart on each animal. To create the anchor chart I cut up sentence strips and used sticky tack to attach them to the poster. This helped when we got to the independent writing stage so the students could just grab their idea off of the chart and use it as a modeled text.

Each student had to write three sentences: what _____ can do, what _______ have and what ______ are. After they wrote their sentences I had them practice reading it out loud and then I recorded them individually reading their writing. I turned these recordings into QR codes for each child and attached it to their writing page so that way people can read their writing and also hear the student reading their own writing.

We then made paper plate animals to put on the top half of their writing page and I hung them out in the hall for everyone to see.

UPDATED- One Word End of the Year gift

WOW!!! I have had a lot of interest on my end of year gift I make for my students each year. My first post generated a lot of questions so I decided to create this post to help answer some FAQ about them.  See the original post here.

I always try to start this project around the beginning to middle of April. This way it gives me a chance to get everything done without feeling super rushed at the end of the school year.

UPDATE: Tagul is now WORDART.COM

How do I keep track of what the students say?

To begin creating this I type all of the kids names into a word document like this:


Next, I circle the name of the student who will be saying something nice. I do this to make sure I don’t forget anyone, because I know myself and would somehow forget a student on the list. Especially since I’m the special education teacher and co-teach in one room  (I make all students in the room I co-teach in a gift) and pull students for resource from 2 other classrooms (I only make those student I pull out, not their whole class). I will talk more about how I make the students’ who are not in the co-teaching room without making one for the whole class later.

How do you get your students to only say one thing about each student?

To begin this project I begin by reading a mentor text, usually Have You Filled a Bucket Today? You can also begin with a similar story, I just always try to choose a story that teaches students about feelings and how what other people say/do can make or break your way of feeling.

Next, we talk about using nice words (adjectives) to describe something/someone and make an anchor chart. I forgot to take a picture of it. I will try to remember to take one this week.

I then tell them that over the next few days (weeks) I will be asking each student to say something nice about everyone in our class (and other kids too if they know them well).

How did you get the background color behind the shape to stay white but color the rest of the perimeter in?

Answer: What I do is save the Tagul image in Word. After I print it out on a word document (this is how I am able to size each Tagul project) I cut it out around the shape and glue it on a piece of scrapbook paper (the child’s favorite color).

In order to keep the background color white instead of the shaded blue you need to go to the color and animations tab and turn the shape transparency to 0.

What have you put on the bottom corner of each one?

Answer: I put a little blurb about how it was made. Something like one word from the kids in room ______.

Where did you get the frames and matting?

Answer: I buy document frames from Dollar Tree and 8 1/2 x 11 scrapbook paper in each students favorite color. I cut out the wordle that I printed on white card stock and glue it into the scrapbook paper.

How do you get the words in different colors?!

Answer: To the right of each name is a column for color. I put the student’s first name in their favorite color (also the background color). I put the school and grade in another color and the teachers in another color. After that I pick random colors I haven’t used and choose that color for about 4 words and then repeat with a different color for the next four word and so on until I have used a different color(or group of colors) for each word.

How did you get the picture to be printed as large. It is only showing me a half page star when I print:!

Answer: I copy and paste the image into Word and am able to resize there.

How did you print them?

Answer: I copied them and put them into a Word document. After they were all on the document I just printed on a color printer.


Exit Tickets- What does the letter say? A spin/tell/write exit ticket for Kindergarten

exit-ticket-sounds

I bought these spinners at Dollar Tree last year and used them during lessons for sight word recognition last year. This year I wanted to incorporate them into my lessons more often since the kids LOVED using them. Well, I figured out the perfect way to use it in my class this year. We use Jolly Phonics as our phonics program at the school I teach at. To connect student learning from the classroom to my resource room I created a four square and put one sound we have learned in each box (I switch them out each week). After our lesson is over we have a set routine to line up to go back to the regular classroom. First we do the letter/sight word on the bus and next we come over and spin the spinner and whatever letter the student lands on they have to tell me the sound it makes. Next to the four square I have a line where they also have to practice writing the letter. The kids love doing this and if I somehow forget since we ran out of time they won’t leave until they get a turn to spin the spinner. Once our letters and sounds are secure I will switch to sight words.

A closer look at Letter Characteristics

We started Go-Time this week as a kindergarten group. This is a time where we split up all the kindergarten students into groups and they literally just “go” to their new group. In these groups we focus on reading skills such as learning letters, reading left to right and eventually sight words and reading books. We try to give all the kids a different teacher than what they are used to during the school day. This gives them an opportunity to learn from another adult who may have a different way of teaching something to maximize potential learning.

letter-sorting

Most of the kids did a nice job sorting letters but a couple were having a little trouble figuring out how to sort the letters.  Since this was something we could still work on I decided to complete the Marcia Daft activity called Mr. Line and Mrs. Curvy. It is a little story about Mr. Line and the ways he can move (straight, laying down, and acting like a slide WHEE!). Mr. Line gets bored by himself and meets Mrs. Curvy and together they can make all the letters. We go through an order of letters and have the students make them with bands and sound tubes: They love it!

letter-sorting-1     letter-sorting-2        letter-sorting-3


1st day of school chalkboard

The beginning of a new school year is fast approaching and for some it has already started. I have been teaching summer school this summer so I am kind of ready to start the new school year.

Below are the canvases I made for the kids last year. I’m not sure if I will be using these again this year or the one I purchased from the Target Dollar Spot earlier this summer.

I bought a 2 pack of canvases at Hobby Lobby and painted them with chalkboard paint. Then I took chalk markers and wrote their name, First day of _______, the date, and age.

In the small hard to read on here print I wrote the name of the school, teacher, favorite song, what they want to be when they grow up, favorite food and I love to…

I can’t wait to see what their answers to these questions will be this year!


20150923-161404.jpg

20150923-161436.jpg20150923-161424.jpg

Directed Drawings

Have you seen these awesome directed drawings from First Grade Blue Skies? They are amazing and you should check them out if you haven’t already!

This year I have been getting into Instagram (I haven’t posted much but I love looking at what other teachers are doing). One of the things I found through IG is directed drawings. Now, I am not an artist or an art teacher by any means but if I do say so myself these turned out really good! Even my co-teacher had to draw each picture at the same time as the kids.

The first one we tried was Dr. Seuss during Dr. Seuss week at the beginning of March.

20160515-044139.jpg

The next one we tried was a leprechaun for St. Patrick’s Day20160515-044218.jpg

     20160515-044154.jpg

20160515-044232.jpg


The last one we tried was a bunny for Easter time.

 20160515-044245.jpg

20160515-044301.jpg

I can’t wait to try more directed drawings in the classroom! It is so awesome to see everyone be able to draw (even the kids who struggle the most)


ABC End of the Year Countdown

20160504-185152.jpg

I can’t believe the school year is almost over! I don’t know about your class but ours is getting chattier (is that even a word?!?!) by the day. To try and make the last month exciting and try to curb behavior I decided to create an ABC Countdown to the end of the school year.

I got the inspiration from Pinterest and Instagram but put my own spin on it. Most of the countdowns I have seen on Pinterest and Instagram have been the balloon popping countdowns, you know the ones where you pop a balloon each day with a different activity. Well, this year, we have a couple students who are really bothered by loud sounds and the popping of balloons would be too much for them to handle.

A few years ago I was on our schools PBIS committee and was one of the people in charge of the staff fun day that we hold for our professional development usually in February. That year we did a version of Let’s make a deal using a punch out board.

Instead of popping balloons each day I created our own punch board for the 26 days of school. I was so excited to get it started that I forgot to take a picture of it before we started using it. Truth be told, Sunday afternoon I thought about doing this countdown and then counted on my phone how many days left with kids and low and behold it was 26. Talk about a late night on Sunday! By the time I went to Dollar Tree is was 6:55 and the store closes at 7 on Sundays, who knew?!?! Needless to say I was able to quickly get the supplies on my list and get out of there without any additional items (which is normally not what happens when I go to Dollar Tree).

20160504-185356.jpg

How I made the punch out box: I got the general instructions on how to make this from Pink and Green Mama who found it from : Celebrate the Big and Small. Actually I just read the instructions from Celebrate the Big and Small and I probably should have created mine like that, seems so much easier. BUT when do I do things the easy way? I cut off the side of a box (Walmart that had been shipped from my mom at one time) and laid out my cups how I wanted them on top. I traced the cup lids and then cut out each circle trying to cut just a smidge smaller than the circle I traced. After trial and error with wrapping the gift wrap around my hideous looking brown box I found the best way to decorate it was to cut the holes first and then wrap one side with wrapping paper. I then turned the box over and cut a t in the middle of the holes and folded the wrapping paper up around the holes and taped it down. (Right now I really wish I took pictures while I was doing this) Then I took tissue paper and taped it down one color per row. My 6 year old wrote out some of the reward slips and I glued the cup down over the correct hold, don’t forget to add the slip of paper with the reward, A is for Art, etc… Each day I pick a different student to “punch” a hole out. We do our reward time at the end of the day after specials and then I have them punch out the next days activities before they leave so they can get excited for tomorrow.

I also sent home a note to the parents explaining what we were doing. Here is the note and you should hopefully be able to edit it (I admit I’m not very good at attaching things that can be edited so sorry in advance!) end of year abc countdown If for some reason you can’t get it to work give me your email address and I will send it to you.

I am absent minded and forgot to take pictures of the kids completing their A is for Art Mother Day gifts so here is a picture of the final product:

20160504-185252.jpg

Here are some pictures from B is for Bubbles. We created tennis rackets with plates and craft sticks and kept them up in the air. At the end we went outside and popped them. Don’t worry I gave them each a balloon to take home, not inflated of course!


20160504-185331.jpg

20160504-185344.jpg

20160504-185504.jpg


Previous Older Entries